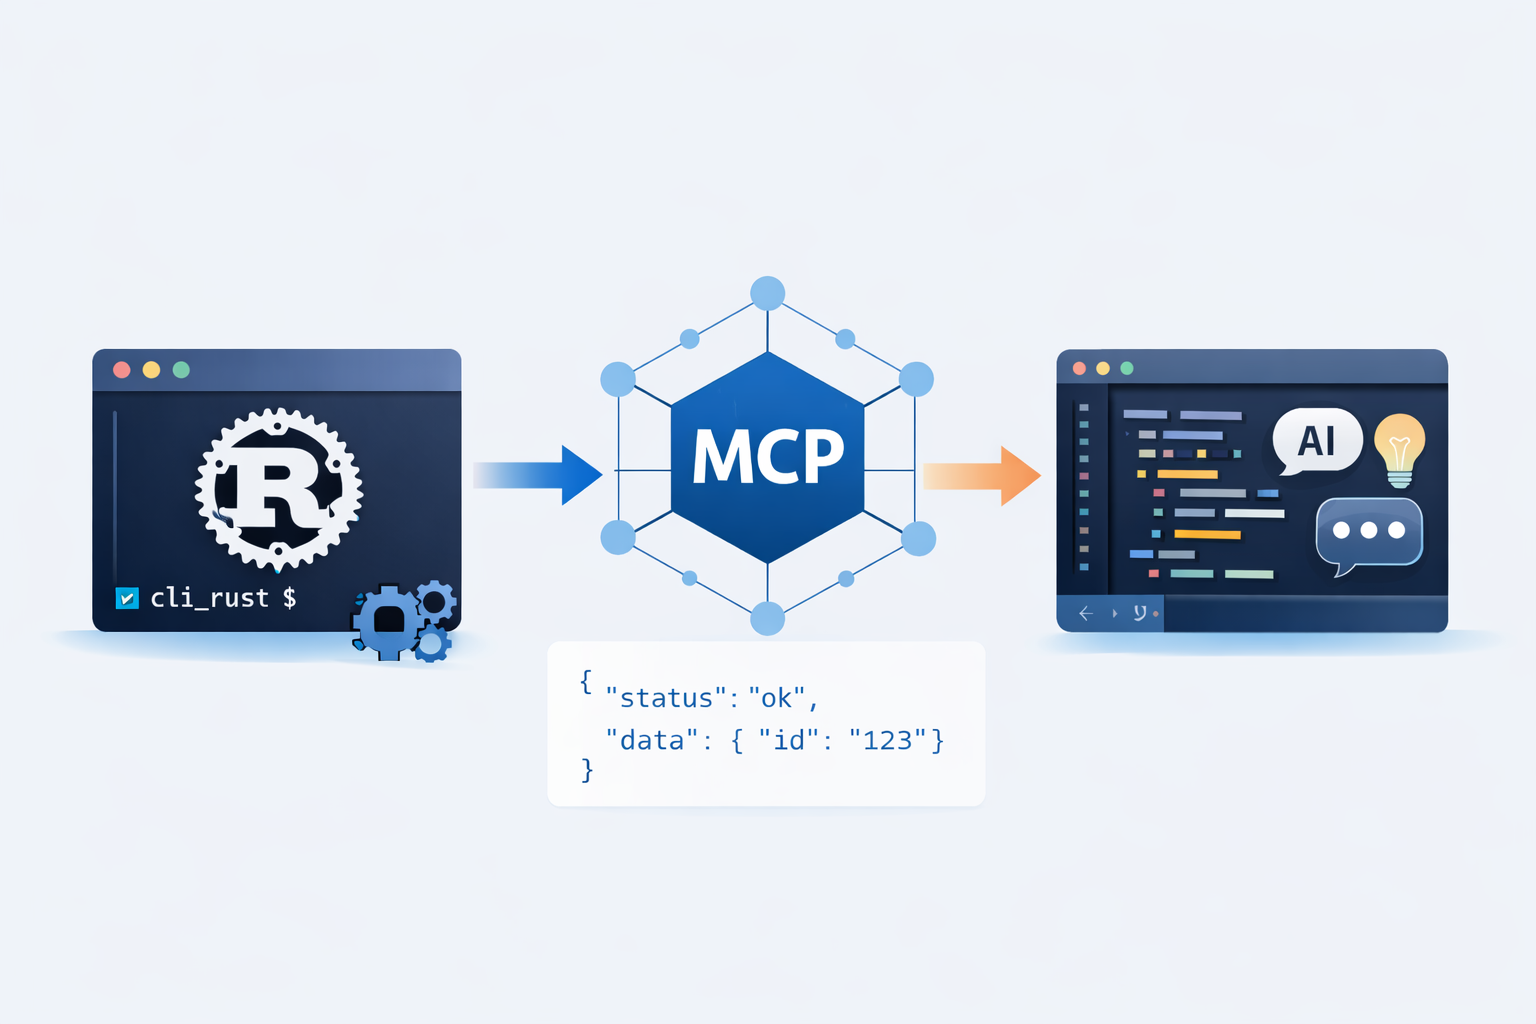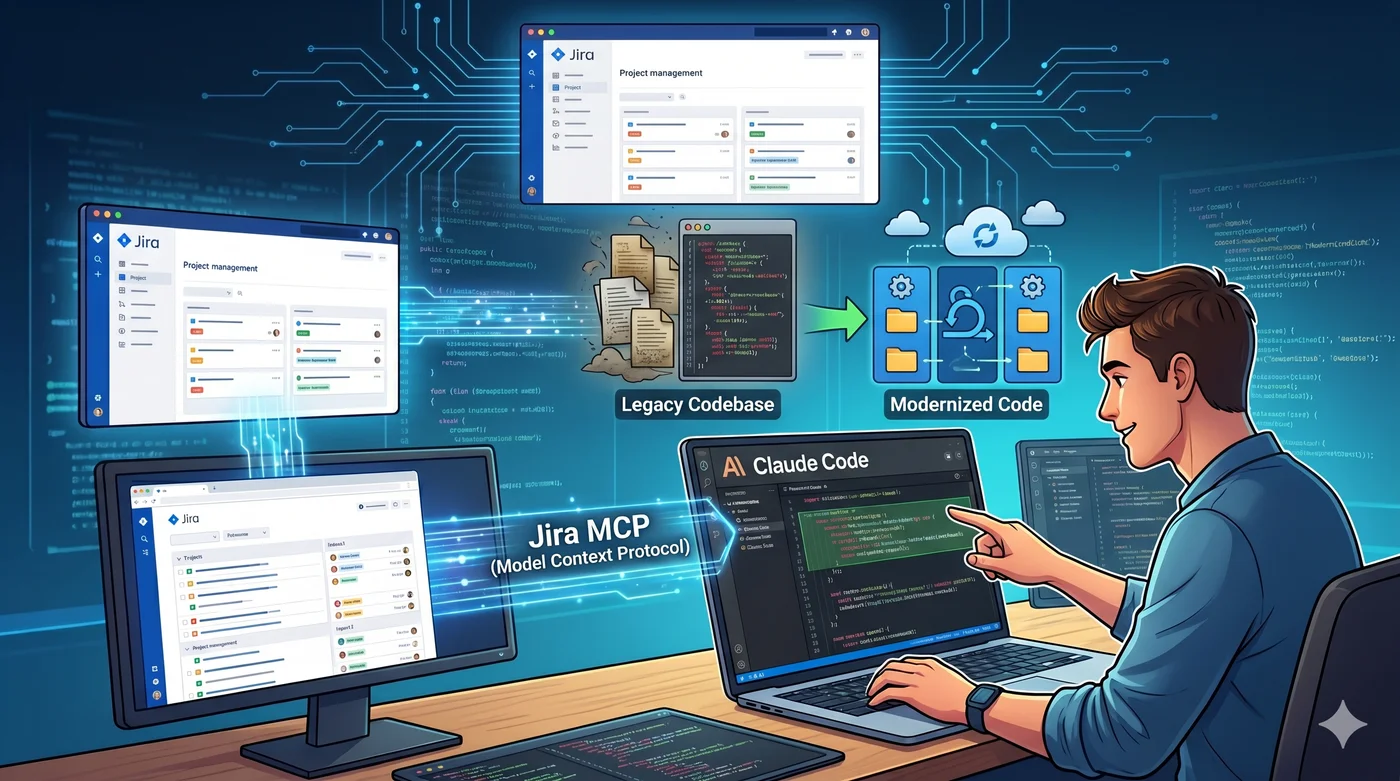
When I started building a Rust-based RAG system for automatically documenting legacy codebases, the first production question wasn’t about the model or the embeddings. It was about where to run it.
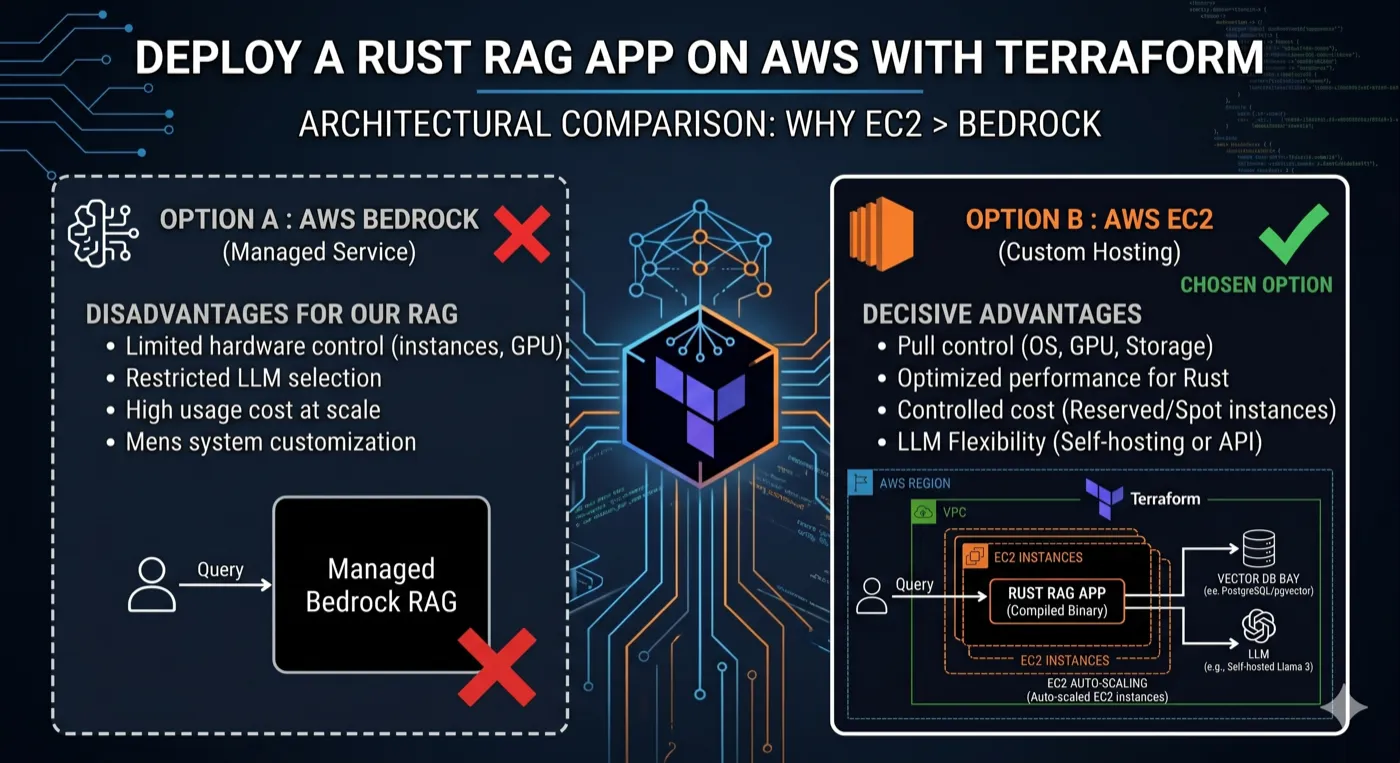
The obvious answer in 2026 is AWS Bedrock. It’s managed, it scales, and AWS pushes it hard. I chose EC2 instead. This article explains why, and walks through the Terraform infrastructure I built to make it work reliably.
Why Not Bedrock?
Bedrock is the right choice for a lot of teams. But it wasn’t right for me, for three reasons.
I needed Qdrant. The application uses Qdrant as its vector database, a high-performance similarity search engine written in Rust. Bedrock’s native vector store is Amazon OpenSearch Serverless or pgvector. Migrating to either would have meant rewriting core query logic and losing features I depended on: named collections, payload filtering, and fine-grained distance metrics.
I run a Rust binary, not Python. Most Bedrock tutorials assume LangChain + Python. My backend is a compiled Rust binary. The overhead of adapting my architecture to Lambda (cold starts, binary size, async runtime) was not worth it for an internal tool with predictable traffic.
Cost predictability mattered. Bedrock charges per token consumed. For a tool that indexes entire Java codebases (sometimes millions of tokens per project), the billing becomes unpredictable. A single EC2 t3.medium at ~$30/month is easier to reason about.
The Stack
Before getting into Terraform, here’s what I’m deploying:
- Backend: Rust binary packaged as a Docker image, running the RAG engine, HTTP API, and MCP server
- Frontend: Angular app served via nginx in a second Docker container
- Vector store: Qdrant, running as a Docker container on the same instance
- Database: SQLite for project metadata (no RDS, which keeps costs down)
- LLM provider: OpenRouter (calls Claude, GPT-4, etc. via a single API)
Everything runs on one EC2 instance behind an Application Load Balancer. Not microservices. Not Kubernetes. One instance with Docker Compose.
The Infrastructure
Here’s the full picture of what Terraform provisions:
Internet
    │
    ▼
ALB (HTTPS:443 / HTTP:80→301)
    │
    ▼
EC2 t3.medium (Amazon Linux 2023)
    ├── nginx container  (port 3000 → frontend)
    ├── backend container (port 8080 → Rust API)
    └── qdrant container  (port 6333 → vector DB)
         │
         ▼
    EBS gp3 volume (persistent /data)
         ├── qdrant_storage/
         └── sqlite databases
All secrets (LLM API keys, OAuth credentials) live in AWS Secrets Manager and are injected into the EC2 instance at boot via user_data.
Images are stored in ECR and pulled on each deployment.
Key Terraform Decisions
Remote State First
Before terraform apply, you need a place to store the state. Two AWS CLI commands:
aws s3 mb s3://my-app-tfstate --region eu-west-1
aws dynamodb create-table \
  --table-name my-app-tflock \
  --attribute-definitions AttributeName=LockID,AttributeType=S \
  --key-schema AttributeName=LockID,KeyType=HASH \
  --billing-mode PAY_PER_REQUEST \
  --region eu-west-1
Then init with the backend:
terraform init \
  -backend-config="bucket=my-app-tfstate" \
  -backend-config="key=prod/terraform.tfstate" \
  -backend-config="region=eu-west-1" \
  -backend-config="dynamodb_table=my-app-tflock"
The DynamoDB table provides state locking, which is critical if multiple engineers or CI pipelines run Terraform concurrently.
The Stateful Problem: Qdrant on EBS
This is the most important architectural decision. Qdrant stores vector collections on disk. If you let Terraform destroy and recreate the EC2 instance (which happens on AMI updates or instance type changes), you lose all indexed data. Reindexing a large codebase takes hours.
The fix is a separate EBS volume with prevent_destroy:
resource "aws_ebs_volume" "data" {
  availability_zone = var.availability_zones[0]
  size              = var.data_volume_size_gb
  type              = "gp3"
  encrypted         = true

  lifecycle {
    prevent_destroy = true
  }
}

resource "aws_volume_attachment" "data" {
  device_name  = "/dev/xvdf"
  volume_id    = aws_ebs_volume.data.id
  instance_id  = aws_instance.app.id
  force_detach = false
}
The prevent_destroy = true means Terraform will refuse to execute any plan that would delete this volume. It’s a guardrail against accidental terraform destroy. If you genuinely need to delete it, you remove the lifecycle block, apply, then destroy.
On the instance, /data is mounted from this volume at boot via user_data. SQLite databases and Qdrant collections both live there. The instance is replaceable; the data volume is not.
I also set up daily AWS Backup:
resource "aws_backup_plan" "daily" {
  name = "${local.prefix}-backup-daily"

  rule {
    rule_name         = "daily-7days"
    target_vault_name = aws_backup_vault.main.name
    schedule          = "cron(0 2 * * ? *)"

    lifecycle {
      delete_after = 7
    }
  }
}
Seven days of daily snapshots. If something corrupts the Qdrant storage, you restore from the previous night’s backup.
Secrets Manager for LLM Keys
Never put API keys in terraform.tfvars or environment variables in user_data. Use Secrets Manager:
resource "aws_secretsmanager_secret" "openrouter_api_key" {
  name                    = "${local.prefix}/openrouter-api-key"
  recovery_window_in_days = 7
}

resource "aws_secretsmanager_secret_version" "openrouter_api_key" {
  secret_id     = aws_secretsmanager_secret.openrouter_api_key.id
  secret_string = "PLACEHOLDER_SET_ME"

  lifecycle {
    ignore_changes = [secret_string]
  }
}
The ignore_changes = [secret_string] is essential: Terraform creates the secret with a placeholder, then you set the real value via CLI. On subsequent terraform apply runs, Terraform won’t overwrite what you set manually.
aws secretsmanager put-secret-value \
  --secret-id arn:aws:secretsmanager:eu-west-1:...:secret:prod/openrouter-api-key \
  --secret-string "sk-or-v1-..."
The EC2 instance has an IAM role with permission to read these secrets. user_data pulls them at boot and injects them as environment variables into the Docker Compose stack.
ALB with Automatic TLS
The ALB handles TLS termination. If you provide a domain_name and a Route 53 zone_id, Terraform creates and validates an ACM certificate automatically:
resource "aws_acm_certificate" "main" {
  count             = local.has_domain ? 1 : 0
  domain_name       = var.domain_name
  validation_method = "DNS"

  lifecycle {
    create_before_destroy = true
  }
}
HTTP on port 80 redirects to HTTPS with a 301. The TLS policy is ELBSecurityPolicy-TLS13-1-2-2021-06, which enforces TLS 1.3 and 1.2 only.
Without a domain, the stack still works: you get an HTTP-only ALB DNS endpoint. Useful for staging environments.
CI/CD Without Long-Lived Credentials
The classic approach for GitLab CI → AWS is to create an IAM user, generate access keys, and store them in CI variables. This works, but you end up with static credentials that never expire and are stored in your GitLab settings forever.
The better approach is OIDC federation: GitLab generates a signed JWT for each pipeline run. AWS verifies the JWT against GitLab’s OIDC provider and issues temporary credentials. No static keys anywhere.
resource "aws_iam_openid_connect_provider" "gitlab" {
  url            = var.gitlab_url
  client_id_list = [var.gitlab_url]
  thumbprint_list = [var.gitlab_oidc_thumbprint]
}

resource "aws_iam_role" "gitlab_ci" {
  name               = "${local.prefix}-gitlab-ci"
  assume_role_policy = data.aws_iam_policy_document.gitlab_ci_assume.json
  max_session_duration = 3600
}
The trust policy restricts which pipelines can assume the role: only main branch and tags of the specific project:
condition {
  test     = "StringLike"
  variable = "<your-gitlab-host>:sub"
  values = [
    "project_path:<your-group>/<your-project>:ref_type:branch:ref:main",
    "project_path:<your-group>/<your-project>:ref_type:tag:ref:*",
  ]
}
In .gitlab-ci.yml, the job requests an OIDC token and exchanges it for AWS credentials:
deploy:
  id_tokens:
    AWS_OIDC_TOKEN:
      aud: https://<your-gitlab-host>
  script:
    - >
      export $(aws sts assume-role-with-web-identity
      --role-arn $OIDC_ROLE_ARN
      --web-identity-token $AWS_OIDC_TOKEN
      --role-session-name gitlab-ci
      --query 'Credentials.[AccessKeyId,SecretAccessKey,SessionToken]'
      --output text | awk '{print "AWS_ACCESS_KEY_ID="$1"\nAWS_SECRET_ACCESS_KEY="$2"\nAWS_SESSION_TOKEN="$3}')
    - docker build -t $ECR_BACKEND_IMAGE .
    - docker push $ECR_BACKEND_IMAGE
    - aws ssm send-command --instance-ids $INSTANCE_ID --document-name AWS-RunShellScript --parameters 'commands=["cd /app && docker compose pull && docker compose up -d"]'
The CI role only has permission to push to ECR and trigger SSM commands on the EC2 instance. Nothing else.
What I Would Do Differently
Use ECS Fargate for the application containers, keep EC2 for Qdrant. The application containers (backend, frontend) are stateless: they’re perfect for Fargate. The only reason I kept everything on EC2 was operational simplicity at the start. With Fargate for the app and a dedicated EC2 instance for Qdrant, you get rolling deployments and better fault isolation.
Use RDS PostgreSQL instead of SQLite for metadata. SQLite works fine for a single instance, but it creates problems the moment you want to scale horizontally or run blue/green deployments. The switch cost is low; the future flexibility gain is high.
Set up CloudWatch alarms from day one. I added monitoring after the first production incident. The ALB unhealthy host count alarm should be the first thing you create, not the last.
Conclusion
Choosing EC2 over Bedrock wasn’t ideological. It was a pragmatic response to three constraints: Qdrant as the vector store, a compiled Rust binary, and cost predictability for a variable indexing workload.
The Terraform infrastructure described here (roughly 500 lines across eight files) provisions a production-grade deployment with TLS, daily backups, credential-free CI/CD, and protected persistent storage. It’s not the simplest setup, but each piece earns its place.
If you’re running a self-hosted AI application and have similar constraints, the EC2 + EBS + Secrets Manager pattern is worth considering. The operational burden is real, but the control and cost profile often justify it.
The full Terraform template from this article, generalized and ready to fork, is available at github.com/Strawbang/terraform-aws-ai-stack.